
So, you’ve got a nail drill. Whether you’re a nail art enthusiast or a budding professional, this tool is a game-changer. But the real magic doesn’t lie in the machine itself—it lies in the bits you choose. Think of the drill as a power tool and the bits as your specialized brushes and sanders. Using the right one makes all the difference between a flawless finish and a nail nightmare.
Let’s demystify the world of nail drill bits and learn how to use them like a pro.
A Tour of Your Bit Toolkit
Nail drill bits come in various shapes and materials, each designed for a specific task. Here are the most common types you’ll encounter:
- Carbide Bits: These are the workhorses of the drill bit world. Made from tough, long-lasting material, they have fluted or cross-cut designs that aggressively file away product. They are perfect for quickly removing thick gel or acrylic overlays. Because they are so efficient, they require a gentle touch.
- Diamond Bits: As the name suggests, these bits have a surface coated with diamond dust. They are excellent for precision work, refining the nail surface, and gently removing calluses. They come in various grits (from coarse to fine) and are generally considered safer for beginners due to their less aggressive nature.
- Ceramic Bits: These are primarily used for buffing and creating a high-shine finish on the natural nail. They are not for product removal but for the final, polishing step.
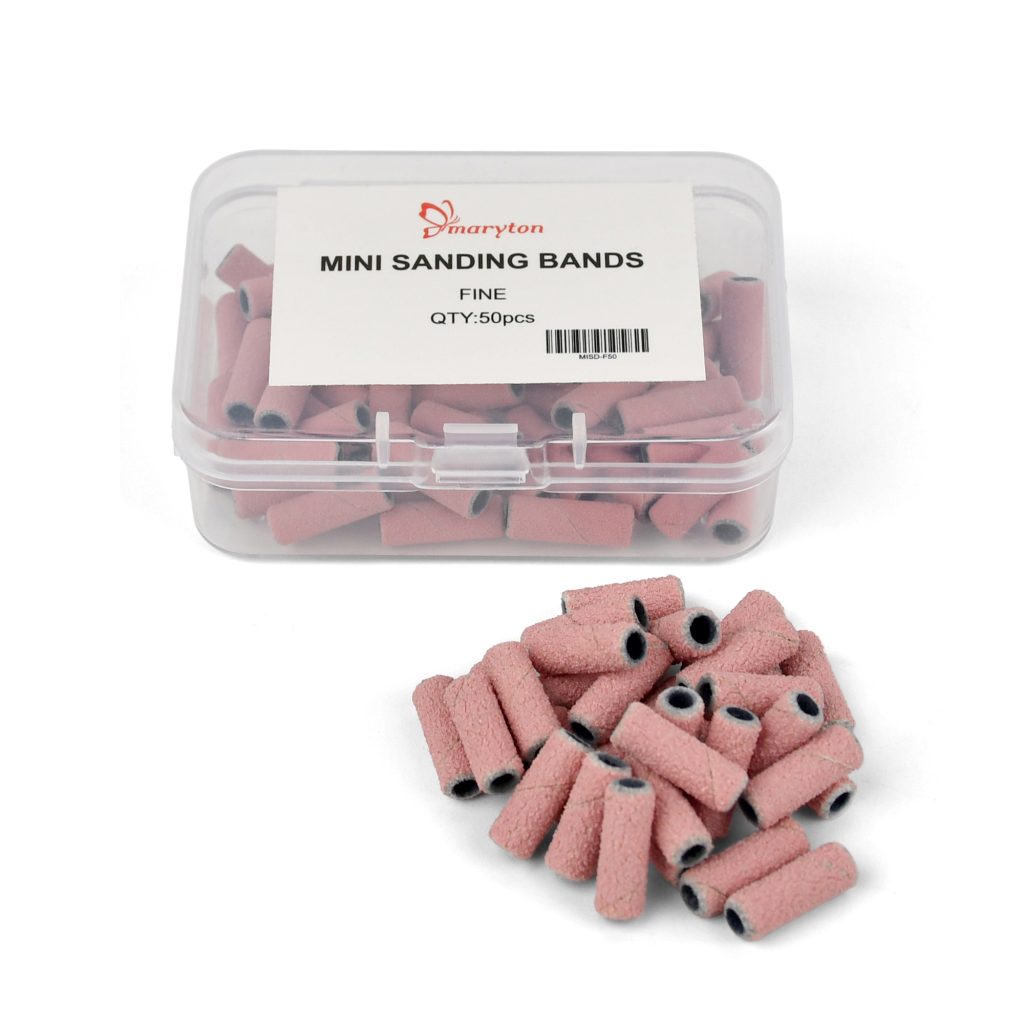
- Mandrel Bits: These are simple bits that require you to attach a sanding band. They are inexpensive and versatile, as you can change the grit of the sandpaper for different tasks, from shaping to light buffing.
The shape of the bit head is just as important as the material. Common shapes include barrel (for large surfaces), taper (for cuticles and precision), flame (for cuticles and sidewalls), and cone (for refining edges).
Choosing the Right Bit for the Job
Selecting the correct bit is crucial for both efficiency and safety. Ask yourself these three questions:
1. What is my goal? Are you removing a hard gel, shaping a nail, or cleaning cuticles? Match the bit’s strength to the task. Use a coarse carbide bit for tough product and a fine-grit diamond bit for delicate cuticle work.
2. What is the grit? Grit refers to how rough or smooth the bit is. Lower numbers (like 80-120) are coarse and aggressive. Higher numbers (like 180-240) are medium grit, suitable for refining. Very high numbers (300+) are fine and used for polishing. A good rule of thumb: start with a higher grit and only go lower if necessary.
3. Am I working on the natural nail? When you are near or on the natural nail plate, always switch to a fine-grit diamond bit and a low speed to prevent damage, heat, and pain.
How to Remove Semi-Permanent Nail Polish?
Semi-permanent polish is softer than gel, making removal relatively straightforward.
1. File the Shine: Start by lightly filing the shiny top coat with a medium-grit (e.g., 180 grit) file or bit. You just need to break the seal.
2. Soak and Scrape: Soak a cotton pad in acetone, place it on your nail, and wrap the finger in foil for 10-15 minutes.
3. The Gentle Assist: After soaking, the polish should be crinkled. Use a low-speed setting and a fine-grit tapered barrel bit to gently roll over the remaining product. The goal is to lift the softened polish, not grind it off. If it doesn’t come off easily, soak for a few more minutes.
How to Remove Gel Nails?
Gel nails are much tougher and require a more methodical approach.
1. Reduce the Bulk: Your first goal is to thin out the gel layer. Use a coarse-grit carbide bit (80-120 grit) at a medium speed. Gently file over the surface, reducing about 80% of the product. Crucially, stop before you reach the natural nail. You should see a faint, milky layer of base coat left behind.
2. The Final Layer: Switch to a fine-grit diamond bit (around 180 grit) to safely remove the remaining base coat. Work in gentle, sweeping motions and keep the bit moving to avoid friction heat. The moment you feel any warmth, stop immediately.
Cuticle Care with a Drill
This is where a drill truly shines for at-home manicures, but it requires the most caution.
1. Soften First: Always soak your nails in warm, soapy water for a few minutes to soften the cuticles.
2. Choose the Right Bit: A fine-grit flame bit or a small, fine-grit taper bit is perfect for this job.
3. Low and Slow: Set your drill to the lowest speed setting.
4. Gentle Pressure: Use a very light touch. Gently push back the cuticle skin. The goal is to remove the dead, loose skin (the pterygium) that sticks to the nail plate, not to cut into the living cuticle. Never hold the bit in one spot.
The Golden Rules
Always remember: a nail drill is a powerful tool. Safety is non-negotiable.
- Never use a coarse bit on your natural nail.
- Always start with a low speed and increase only if needed.
- Keep the bit moving to prevent friction heat, which can damage the nail matrix.
- Sanitize your bits before and after every use.
By understanding your bits and respecting the process, you can elevate your nail care routine to a professional level, achieving salon-perfect results from the comfort of your home.