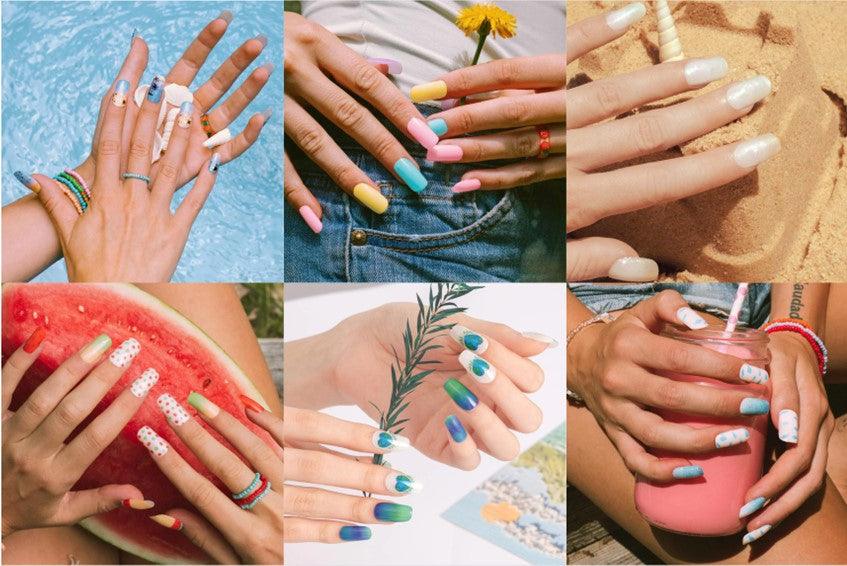
If you have weak, brittle nails that peel, split, or break at the slightest touch, you know the frustration all too well. You’ve probably tried strengtheners, biotin supplements, and every “miracle” base coat on the market—only to watch your nails snap just when they start to look decent.
Traditional manicures often make the problem worse. Salon gel manicures and acrylics require aggressive filing of the nail surface, and the removal process—soaking in acetone or drilling off product—can leave your natural nails even thinner and more fragile than before. Acrylics are particularly harsh; the chemicals they use are toxic, and once removed, nails often become super brittle and weak.
Enter gel nail strips. These semi-cured gel wraps offer a completely different approach—one that protects your fragile nails while giving you a glossy, salon-quality finish.
Why Choose Gel Nail Strips for Brittle Nails?
The core advantage of gel nail strips is that they don’t require any filing or drilling of your natural nail surface. Traditional gel manicures require buffing the nail plate to create texture for adhesion. Over time, this repeated abrasion thins the nail and weakens its structure.
Gel nail strips, on the other hand, are pre-formed to fit your nail. You simply clean the surface, apply the strip, and cure it under a UV/LED lamp. No filing of the natural nail is needed—and that alone makes them a game-changer for anyone with brittle nails.
The formula itself is also gentler. Semi-cured gel strips are made from real gel polish ingredients, not plastic materials, and contain no harmful substances. Many brands specifically formulate their strips to be safe for fragile nails, with waterproof materials that provide a protective barrier without causing additional damage.
How Gel Nail Strips Protect While Enhancing Beauty
A gel nail strip does more than just add color—it acts as a protective shield. When fully cured under a UV/LED lamp, the strip hardens into a durable, flexible coating that stabilizes the nail and prevents breakage.
One user with nails that split down the center due to an old injury found that gel strips finally provided the protection she needed: the strip hardened and kept her nail from splitting further, allowing it to grow out. Another reviewer with paper-thin, peeling nails described gel strips as “a miracle”—her nails grew healthy underneath because the strips come off easily with cuticle oil.
The protective mechanism works in several ways:
- Physical reinforcement. The cured gel forms a hard, flexible shell over the entire nail plate, distributing stress evenly and preventing cracks from propagating.
- Moisture barrier. The strip seals the nail surface, preventing water and chemicals from penetrating and causing further weakening.
- No abrasive prep. Because you don’t need to file the natural nail, the already-thin nail plate isn’t further compromised.
Many brands now incorporate strengthening ingredients directly into their strips. Some use keratin-infused formulas that help restore damaged nails, while others feature triple-layer construction that smooths imperfections and gives the appearance of thicker, stronger nails. One user even noted that the strips “really strengthen my nails while on”.
Best of all, the finish is indistinguishable from a professional gel manicure—high-shine, smooth, and long-lasting.
How to Apply Gel Nail Strips on Fragile Nails
The application process is designed to be gentle on weak nails. Here’s the step-by-step method:
1. Prep gently. Start with clean, dry nails. Gently push back cuticles. Instead of roughening the nail surface with a coarse file—which can further weaken brittle nails—use a soft nail file or simply wipe with the included prep pad to remove oils. The key is to clean without abrading.
2. Choose the right size. Select a strip that fits your nail or is slightly smaller. This prevents overlap onto skin, which can cause lifting.
3. Apply and smooth. Peel the strip from its backing, touching the adhesive as little as possible. Place it just above the cuticle line and press firmly from center outward, using a wooden stick to smooth edges and prevent lifting.
4. Cure under UV/LED lamp. Cure for 60 seconds under a UV LED lamp. This hardens the strip into a durable protective layer.
5. Trim and file. Trim any overhang with nail clippers, then file downward to seal the edge. For extra protection, apply a clear top coat.
Advantages Over Other Options
Compared to traditional salon gels, acrylics, and even press-on nails, gel nail strips offer distinct advantages for those with fragile nails:
No filing means no thinning. Traditional gels and acrylics require aggressive buffing of the natural nail surface. Gel strips require none—your already-thin nails stay intact.
Gentle removal. Instead of soaking in harsh acetone or drilling off product, gel strips can be removed with cuticle oil. One user noted this allowed her nails to grow healthy underneath.
Flexible, not brittle. When cured, gel strips bend and move with your natural nail rather than cracking under pressure. This flexibility is crucial for brittle nails—rigid enhancements often cause the natural nail to break underneath.
No damage to the nail bed. As long as you remove them properly—gently lifting with a wooden stick after applying oil—gel strips leave no sticky residue and don’t strip layers off your natural nail.
Gel nail strips offer something that traditional manicures rarely do: beautiful, long-lasting nails that actually help your natural nails recover rather than further damaging them. For anyone tired of watching their nails snap, split, and peel, they’re not just a convenient alternative—they’re a genuine solution.
Read also: The Hidden Dangers of Nail Biting: Understanding the Habit and How to Break It